Pages

Friday, March 27, 2015

Quilts in Process

This is a pattern from Camille Roskelley in her book Simply Retro. I used an Elementary by Sweetwater layer cake and some random fabrics I collected mostly online - oranges, music, and scientific prints.  Those are things my LittleBuddy likes. This quilt is for him. I should have the top done by the end of the day tomorrow. Then I'll quilt it and hopefully it'll be bound and ready for him by Easter. 

 I haven't touched this chevron in quite a while, but I did get it almost done. I may add one more row on the bottom. Then its quilt and bind also but since there is no deadline for this, it will be done after Easter. I love the Cherry prints and a couple of the fabrics are from Camille Roskelley's line, Ruby.  Guess you could say I quite like a lot of her patterns and fabrics. She even lives in Henderson, NV, where I lived for six years, and one of her quilters used to be in my old ward. Its a small world even in the world of quilting.

Sunday, March 15, 2015

Two Cards

Transitioning from Winter to Spring, these two cards were sitting here last week waiting to be sent. 
I realized I took a photo of the second card between taking off the old twine and adding new ribbon, which I then wrote in and sent off, so I can't show you another photo. Just imagine light blue organdy ribbon. :-)


Sunday, March 8, 2015

Easter Egg Table Runner

I learned something new about how to do applique that I thought was really simple so I'm showing the process here.

I started by sewing together some 2 1/2 inch squares. Then I made a paper pattern of an egg shape and traced it onto the Pellon fusible interfacing. The dots of the Pellon where the adhesive were I had facing the right side of the fabric. Then I just drew about a 1/4 inch seam around that. I sewed on the line I'd drawn from the pattern and then I cut the second outside line.

Here is a picture of the egg shape that has been sewed then cut out.
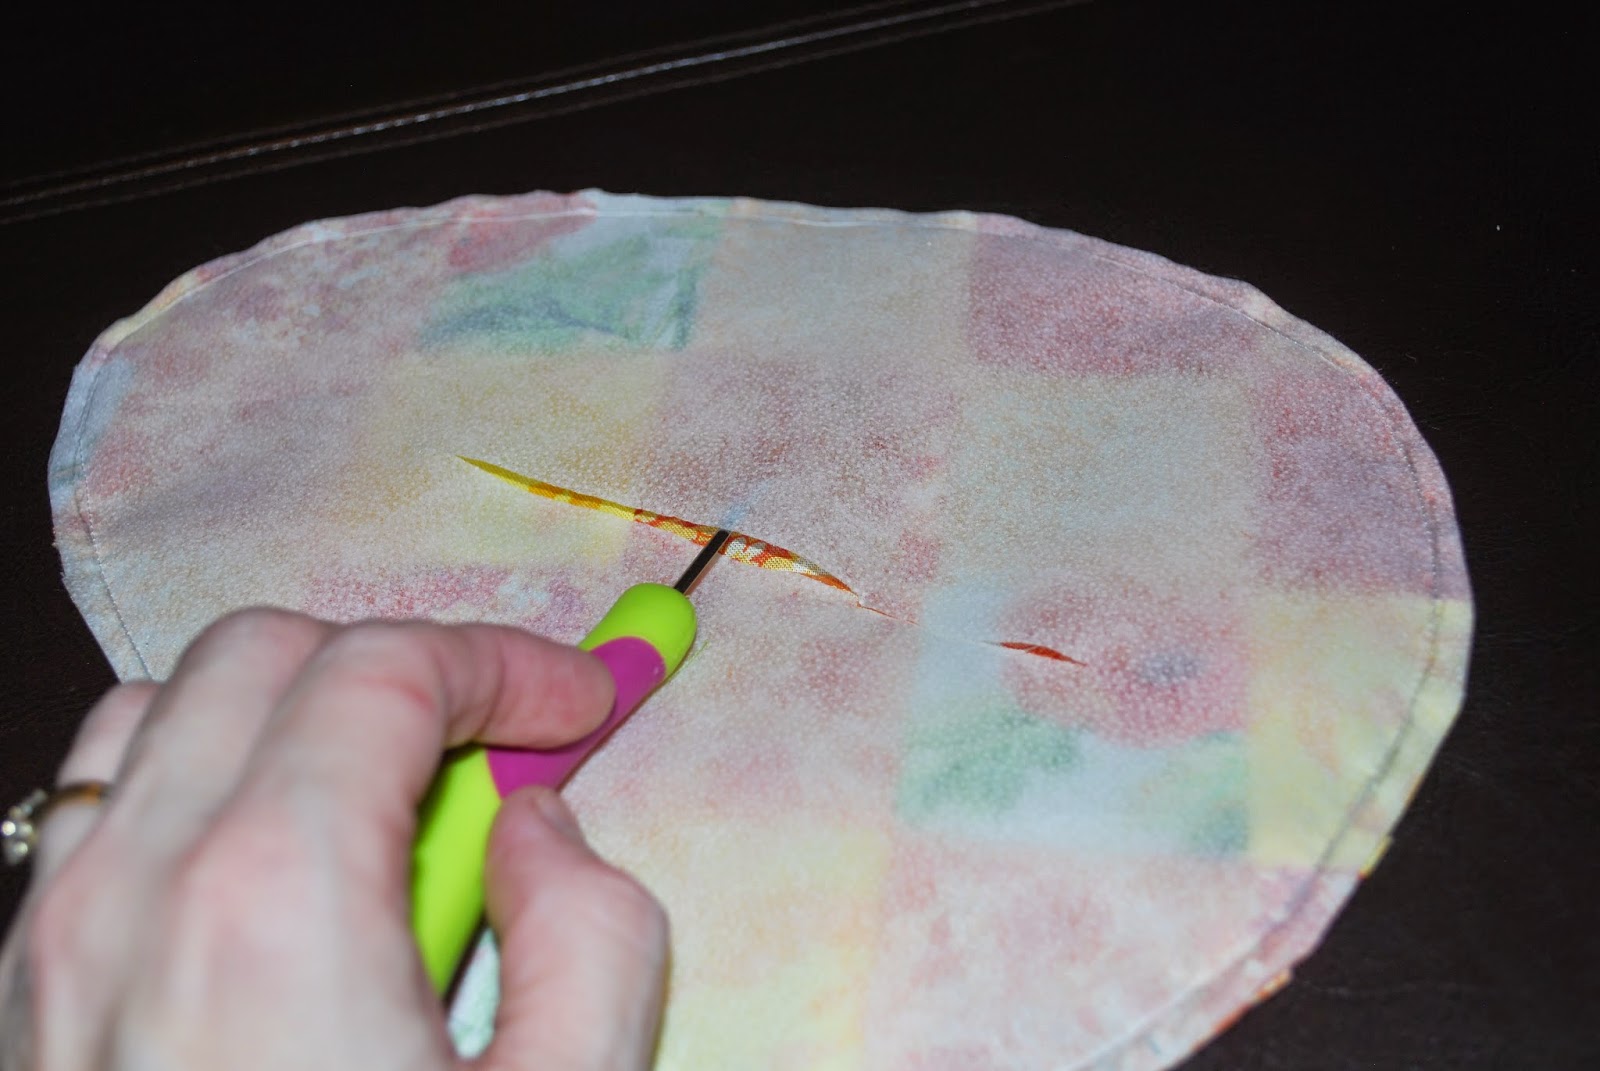
Then I took a seam ripper and gently cut open the center of the Pellon and then turned it inside out.
Here is a picture of one of the eggs where the process above has been completed.
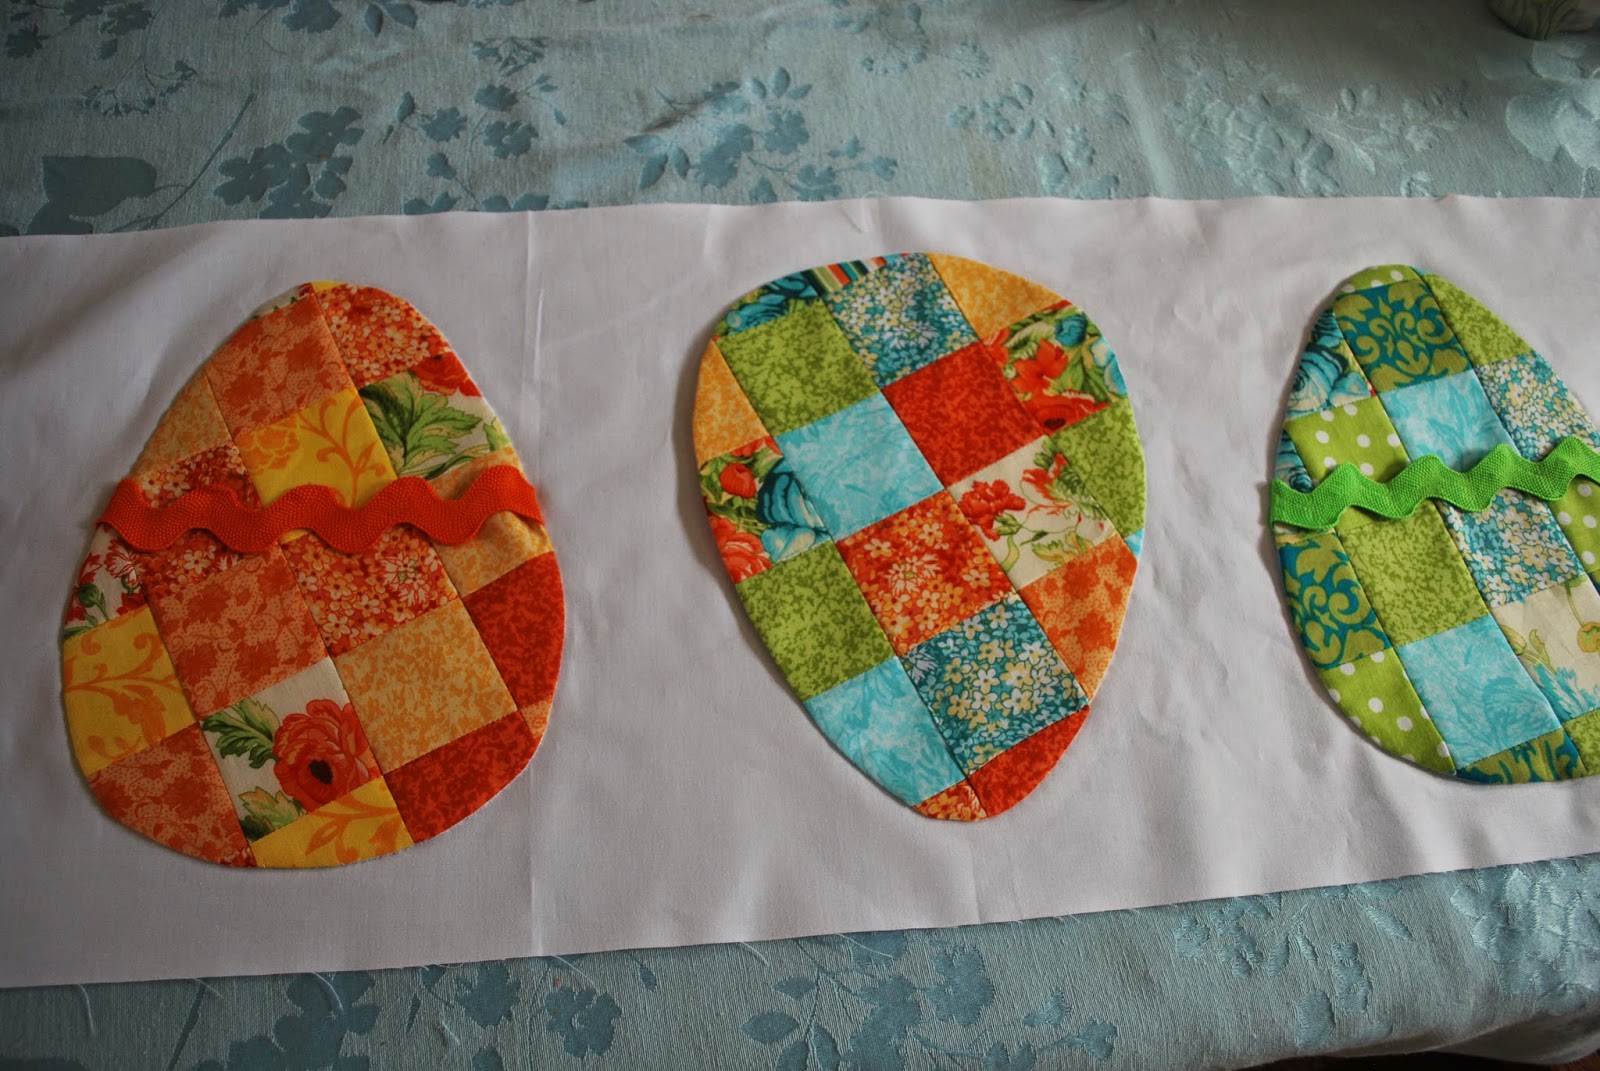
Next came the easy part, ironing it onto my base piece of Kona Solid.  Note the large ric rac I put on top and when I ironed it, I made sure to tuck the edges under.  Then when each egg was ironed down, it made it really easy for me to hand applique the edges. I could have easily sewed them down but I like the look of hand applique and while I had something I wanted to watch on TV  I sat there and appliqued. I also took tiny stitches to hold down the rick rack also.
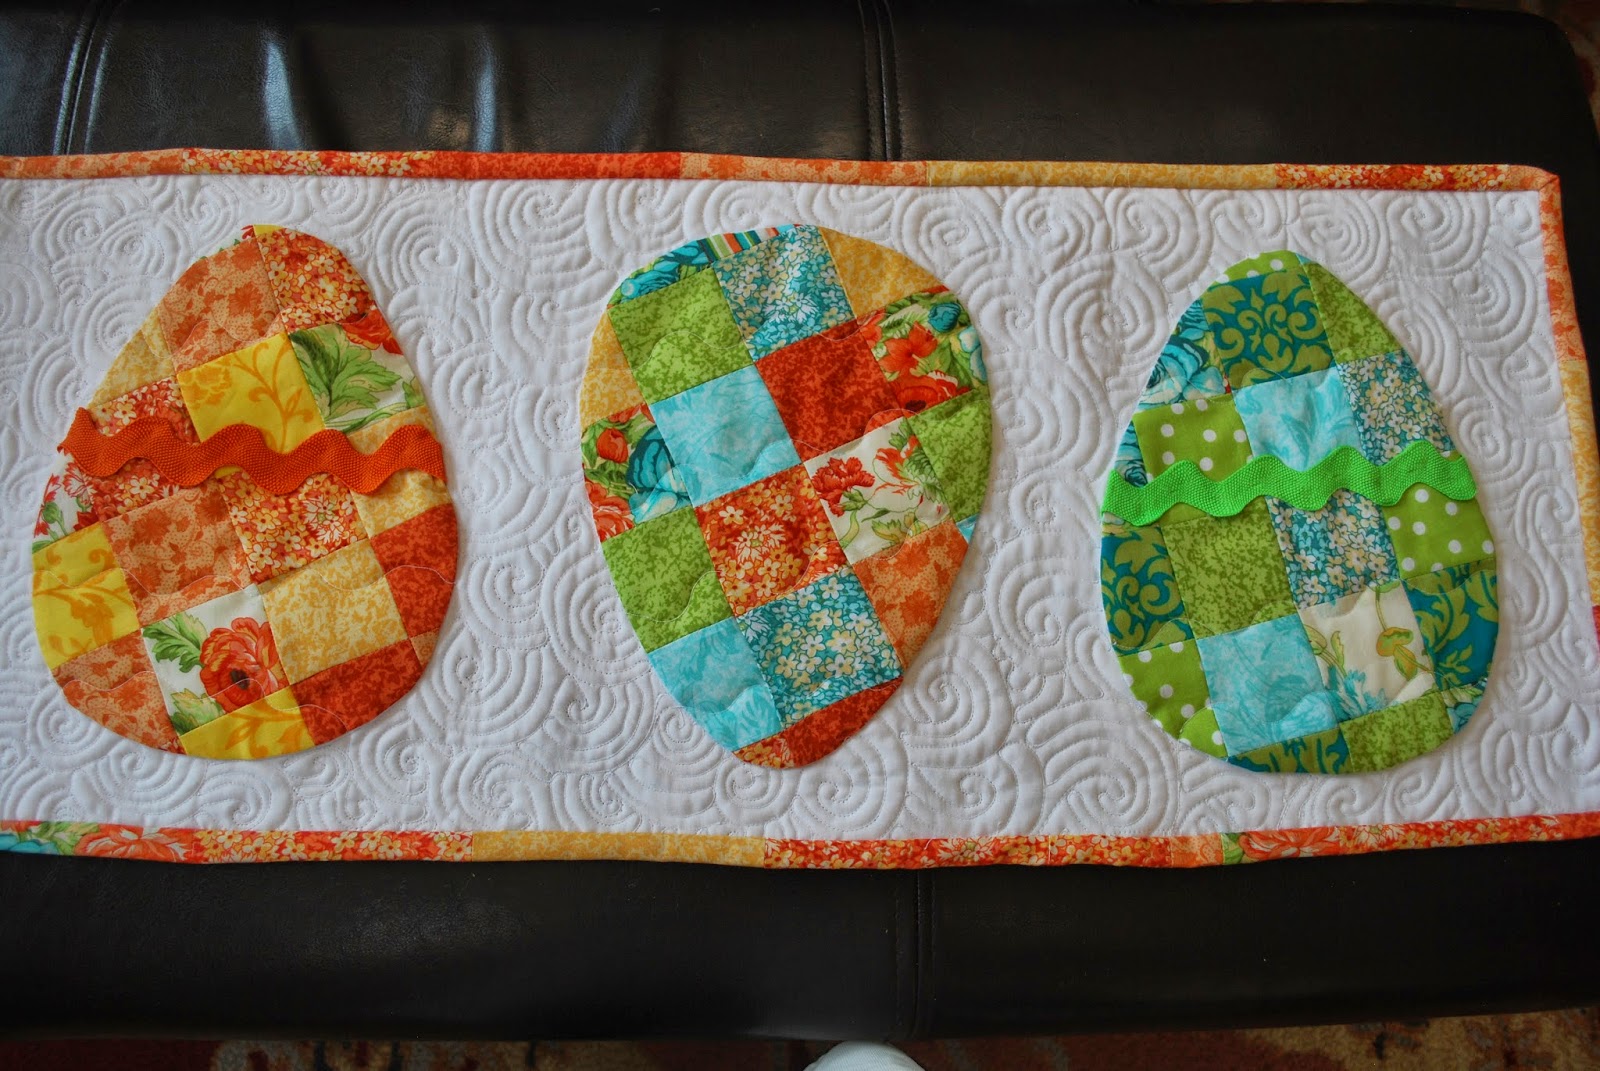
Next came making my quilt sandiwch with batting and a backing. I had fun quilting it after looking at a book with Angela Walters quilting done on it. This is similar to a common design she uses for quilting with her long arm but this was just free motion quilting done on my Bernina.
I used scraps for the binding, sewed that on and it was done. The size is 30 x 12 inches. Not too big. I could have made borders between the eggs to lengthen it, but I liked this smaller size for the center of my dining room table, where it will sit until April and then I will use the backside, until I put out something else.
This is similar to a pattern I saw on Pinterest made by Shabby Fabrics.  I credit them completely with the idea of taking scraps and making eggs although my pattern, the number and size of  the eggs, and quilting is completely different from the photo I saw.

Thursday, March 5, 2015

Handy Sewing Tool Keeper

I made this for Christmas - one for myself and one for my mom and realized I forgot to share it.
Using three fat quarters, a scrap and a small piece of felt, I just started sewing pockets on the inside then put some batting underneath it, and used the third fat quarter for the cover. I then turned it inside out, closed up the seam, sewed a few seams on the outside to help it fold well, and easy!
At the end, because I had made two, I ironed some wonder-under on orange letters so my mom and I could tell ours apart, then added a bright orange button and some elastic to keep it closed.
My mom had signed up for a class at our local sewing shop so I thought this would make it easy for her to carry the tools she needs and I take mine to doctors and physical therapist appointments for my children and continue working on the barn quilts. I just finished December's. Four more months to go and then I can show you the completed set of barns. It really has been a great project and more fun to share it with my mom.